Mixing Concrete Bags
Mixing bags of concrete is not all that hard, dirty or expensive.
There are times when we need to concrete a post into the ground or make a small pad of concrete to rest or bolt down something too.
We have all seen people and even tradies at home or on TV dig a hole, fill with water and tip the bag of concrete into the watery hole and leave to set. This is bad practice and is lazy!
What I will show you is quite simple and ensures a good mix ratio and is not messy, any one can do this.
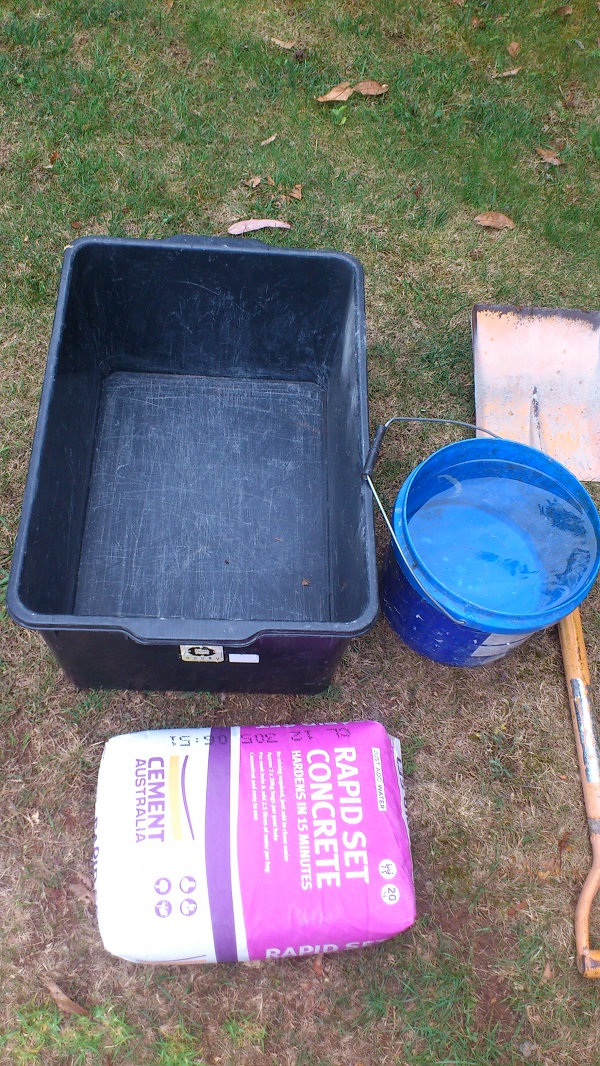
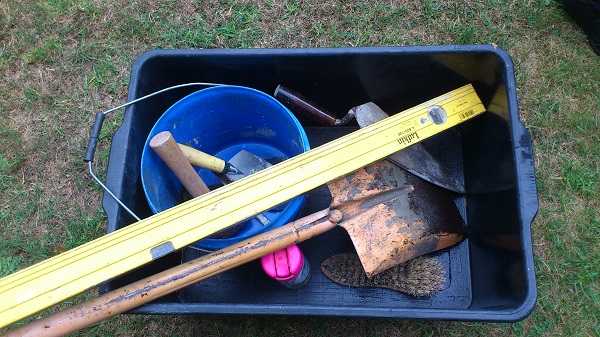
1.) Gather your tools and materials, Your tools consist of;
-
a Black tub,the tub must be large enough and is flexible, a desirable plus would be that the tub contains a flat bottom and sides.
-
A Concrete shovel, these shovels are cheep and are light weight, they are perfect for this job.
-
A Bucket, Any standard size bucket will do.
-
Your Material, in this case, Rapid set.
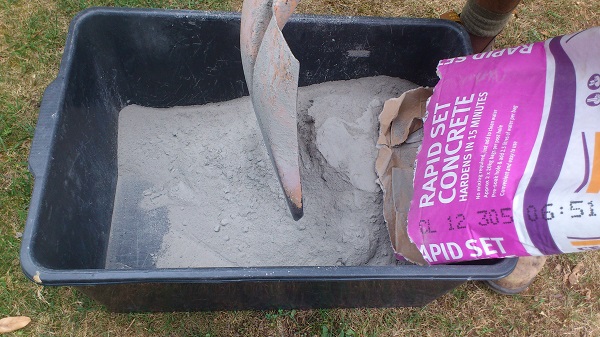
2.) Open the bag using a shovel or trowel.
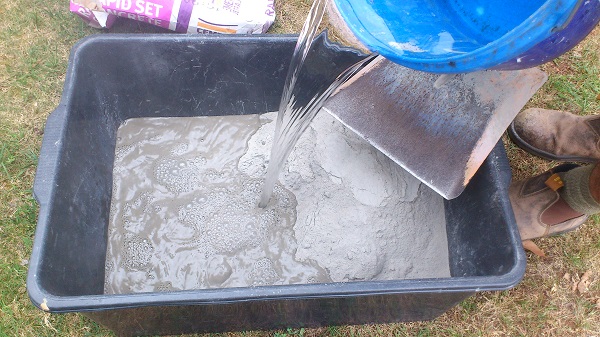
3.) Add the water, Each job is different, in this case I am installing posts. When mixing concrete for posts, your mix should be slightly runny, enough so when you pour your mix into the hole the mix will move freely to the bottom and around the post. When mixing to fill a hole do not make so runny or not so dry that it stands up by itself, just a nice consistency.
NOTE, if you make it too wet, your mix when dry will be weak and the top powdery.
4.) Mix the contents, this is where having the right bucket and shovel pay off, using your shovel scrape the bottom of the tub back and forth and side to side, getting into those corners and using the back of the shovel push the dry contents up against the side of the tub. Mix until there is no more dry lumps.
5.) Get the right consistency, if you need to add a bit more water or a bit more concrete then do so now, it’s better to add more now than to get it wrong.
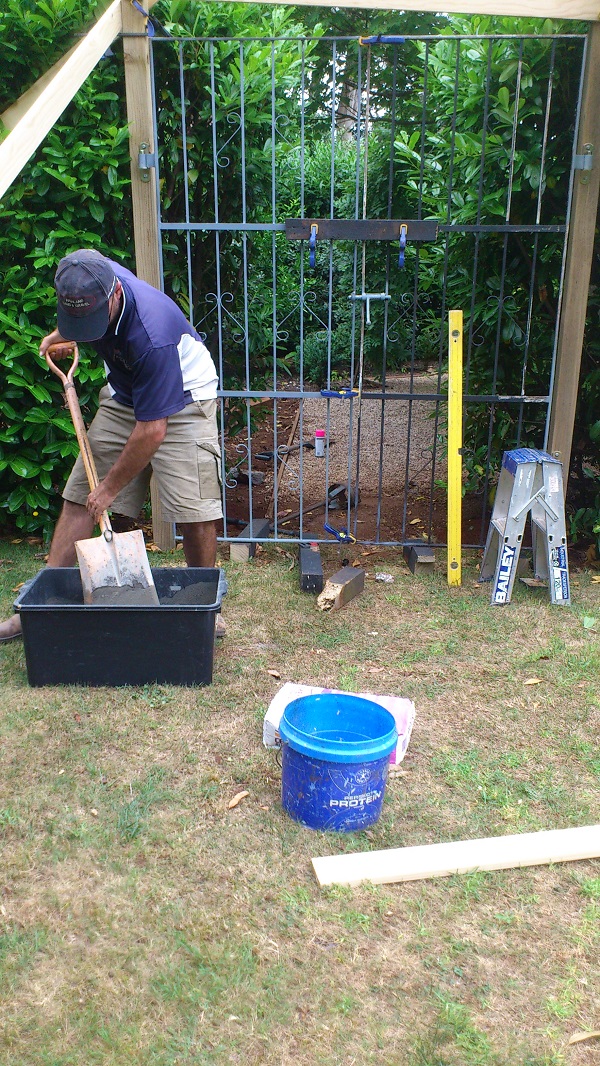
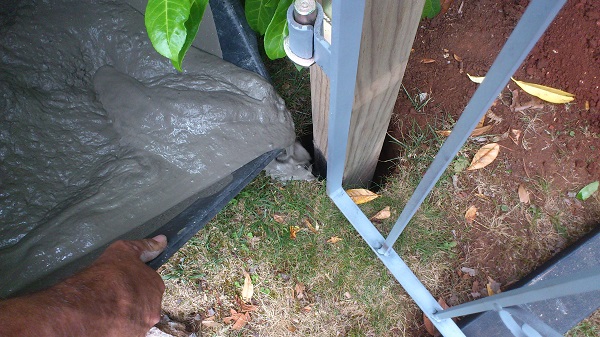
6.) And Pour, lifting your tub in the correct lifting technique, pour your mix into your hole, you may need to pour around the back and sides if your mix was a little dry, also the aggregate may come out last, so this will need to be equally spread.
7.) Poke, using a solid stick poke up and down to move the mix around the hole equally, this also should remove the air in the mix for a more solid product, do not poke around to long as this might create more air pockets.
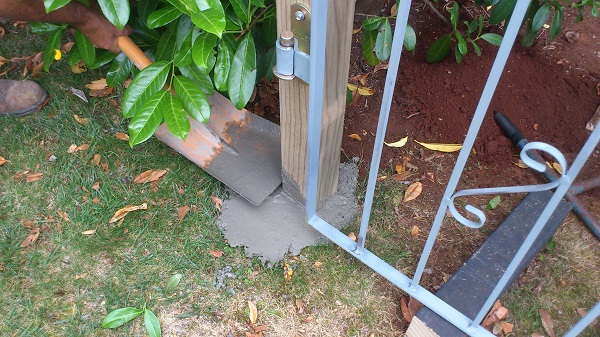
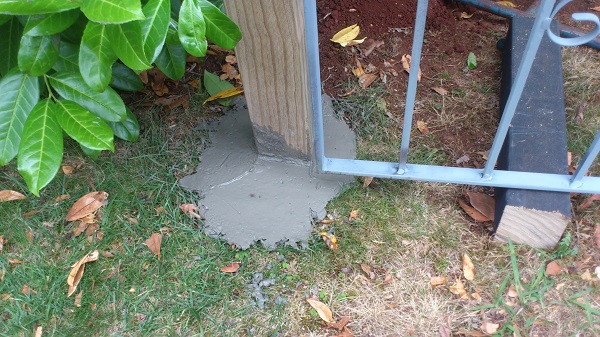
8.) Flatten off, use the back of your shovel to flatten off, leave a small rise at the post edge, this allows water to run off easily and not pool against the timber.
9.) Done! Don’t worry about the concrete coming out to far to the sides, this stuff will break off when dry and create a nice edge.
10.) On to the next one. I had recently filled 43 holes in about one and a half hours, each hole had 1 ½ bags per hole. As you can see its simple and easy once you get a roll on.
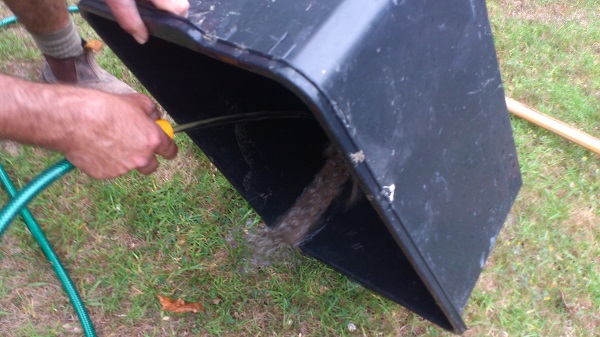
11.) Simple to clean up.
12.) Set to dry.
13.) Store all your equipment away nice and neatly in the one spot.
Leave to dry for 24 hours minimum.



Mick,
I am inspired… I am off tomorrow to buy some rapid set I have been wanting to install a screen to hide our ugly water tank, thanks for the inspiration
😉